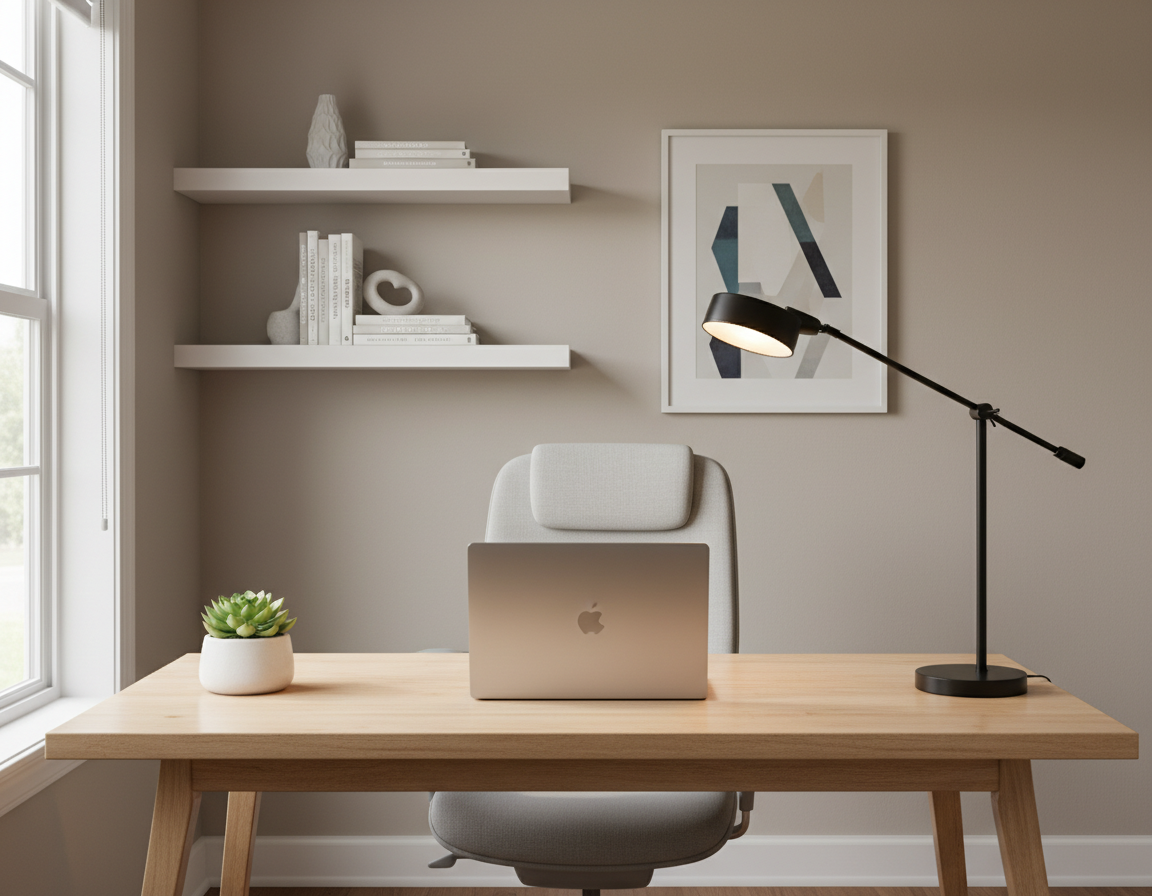
Plan your desk placement first. Position the outlet on the side farthest from the door to reduce what’s visible from the entry. This simple choice sets the stage for a cleaner, safer home office view.
Invisible cables means cords are routed so they’re out of sight from the door and main seat, even if they still run underneath. Expect a practical, non-permanent guide: no rewiring, just smarter routing and organization.
The article walks step-by-step: plan routes, reposition devices, bundle and secure under-desk, hide power strips, conceal wall or floor runs, and keep the desktop minimal. The most common problem is the tangled nest under the desk and a visible extension cord that breaks the clean look.
Who this helps: home office users, gamers, and hybrid workers with a monitor, laptop, keyboard, mouse, lamp, and chargers in one spot. For best results, use fewer, shorter connections and form a single trunk path with Velcro One-Wrap, zip ties, cable clips, sleeves, under-desk trays, raceways, and cable management boxes.
Plan Your Cable Routes Before You Touch a Single Cord
Before touching a single cord, take a few minutes to map where every line will run. Start by surveying the area, then take a quick photo of what’s plugged in so you can rebuild cleanly.
Unplug everything, untangle cords fully, and remove extra or dead cords like old Micro-USB leads. Wipe the underside of the desk and all lines with a slightly damp microfiber cloth so clips and mounts stick.
Choose the Best Outlet and Route
Stand at the door and pick the outlet that keeps cables out of the main view. A desk against a wall needs a different path than one in the center of the room.
Right-Size Lengths and Protect Travel
Measure distances and swap in shorter cords where possible to cut loops and sagging. For a standing desk, add slack for full height and test by raising the surface before final mounting.
- Photo the current plugs, then unplug to rebuild.
- Untangle and remove duplicates; clean surfaces for adhesives.
- Measure for proper length and allow slack for movement.
Common failure: a tight run that pulls on ports and unplugs a monitor mid-lift. Plan once and save time later.
Hide Computer Cables Desk Setup by Repositioning Devices for Shorter Runs
Small shifts in where you place gear often remove more visible cord clutter than any new product can.
Place your monitor and laptop where ports face the nearest route to the outlet. If the monitor sits centered, use an existing grommet or push it to the back edge so the cable drops behind. Turning the screen a few degrees toward the outlet shortens the visible run without drilling.
Use built-in channels and arm routing
Check for desk grommets, channels, or trays before buying gear. Many monitor arms include internal channels — route power, HDMI, and DisplayPort down the arm so cords don’t bow outward behind the screen.
Decide if a center hole is worth it
If a perfectly centered monitor is non-negotiable, a grommet hole (existing or drilled) gives the cleanest look. Weigh the effort: drilling creates a permanent route but eliminates most visible cable segments.
“Repositioning beats buying more products: a few inches can eliminate an entire visible cord run.”
- Position devices so ports point toward the hidden route, not across the surface.
- Angle the monitor near the outlet as a no-drill alternative.
- Place a mobile laptop where plugging won’t leave a dangling cord across the top.
Result: shorter runs mean fewer tie points, less clutter, and quicker troubleshooting. For more product options that pair well with good placement, see desktop cable organizers.
Bundle, Label, and Secure Cords Under the Desk for Clean Cable Management
Begin with a single goal: turn many loose cords into one neat under-desk trunk. Gather monitor, laptop dock, lamp, and accessory lines and align them to follow a shared route along the rear perimeter.
Fastener choice matters. Use Velcro One-Wrap where you expect changes and zip ties when you want a firmer hold. Secure that trunk under the lip with adhesive zip tie mounts and cable clips so the run stays flat and out of knee space.
- Create one under-desk “trunk” by bundling related cords together and routing them to the power source at the back.
- Coil excess length into flat loops, secure with Velcro straps, and tuck the coil near the least visible side.
- Label both ends of each cord with a label maker or tape and a Sharpie to speed future changes.
- Keep frequently used charging leads a bit looser and routed to a quick-access spot instead of burying them in the trunk.
- Store seldom-used adapters in a drawer to avoid permanent clutter in the bundle.
These small steps improve overall management and make maintenance fast. When mounts and clips are placed near the back, the bundled run disappears from normal view and stays tidy for years.
Hide Power Strips and Chargers Without Sacrificing Access
A well-placed power bar balances concealment with reachability—pick the side that stays hidden from the door.
Mounting on the far side keeps the power strip invisible from the entry while letting you reach plugs without crawling under the surface. Use the strip’s mounting holes or heavy-duty hook-and-loop straps to fasten it to the side of the desk opposite the door.
Under-desk trays for maximum concealment
Choose a clamp-on or bolt-on under-desk tray when you have multiple bricks and need everything out of sight. For standing desks, place the tray so cords have extra slack for full travel and won’t snag during movement.
Floor boxes and child/pet safety
Place a power strip inside a cable management box on the floor to reduce dust and limit access by kids or pets. A box also makes the area look tidier and keeps large adapters from sprawling across the room.
Charging station and fewer cords
Create a small charging station with a multi-port USB hub and short cords for phones and devices. Keep one hub in a fixed spot and run only the short cables you need to the surface. This downsizing reduces power clutter fast.
- Access vs. concealment: hide the strip from entry but keep frequent ports reachable.
- Mounting tip: use the strip’s keyhole slots or heavy hook-and-loop for a secure hold.
- Ergonomics: avoid placing power buttons where you must twist or reach awkwardly.
Make Cables Disappear Along the Desk Leg, Floor, and Wall
Run one clean line from the under-desk bundle down the rear of a leg so the rest of the room sees almost nothing.
One visible run goal: gather power and signal lines into a single trunk under the surface so only one cord descends the back of the desk leg toward the outlet.
Secure the line so it hugs the leg
Route the cable down the back of the leg and keep it taut. Fasten the cable every few inches with clear ties so the line stays close and does not bow into view.
Blend into the wall and floor
For wall runs, install a paintable raceway or cable trunking along baseboards or in corners. A painted raceway makes the cable look intentional and nearly invisible on the wall.
If a cord crosses a walkway, protect it with a low-profile floor protector to reduce trip risk and damage. When finalizing placement, a short under-rug route works too.
Under-rug best practice
Only cut a small slit in the rug when the room and desk position are final. Reinforce the rug underside with tape before trimming to stop fraying and keep the opening just long enough for the plug head.
- Use a cable sleeve where multiple lines meet the leg to form a neat trunk.
- Paint a contrasting cord to match furniture when safe and allowed.
- Run the remaining visible cable under nearby furniture to shorten the exposed floor segment.
Keep the Desktop Looking Minimal While Keeping Cords Handy
A tidy top surface makes work feel intentional and reduces distractions the moment you sit down. Focus on giving each item a home so small wire segments stay controlled and reachable.
Use adhesive cable clips and cord organizers for quick access
Adhesive-backed cable clips keep charging ends from sliding and stop them from sprawling across your work area. Mount a cord organizer on the underside edge or side so the plug sits just below the surface.
Tip: place the most-used charging point where you naturally set a phone and route slack underneath immediately.
Trays, drawers, and organizers that disguise short segments
A single desk tray can corral daily items and visually block a small wire near a monitor stand. Letter sorters or a laptop station hide short runs while staying functional.
“Once cords have consistent homes, upkeep takes seconds and the workspace stays calm.”
- Visual target: an intentional top with only needed items visible.
- Keep adapters and spare cords in a drawer for quick access without clutter.
- Use a cord organizer or clips to keep charging cables ready but off the main surface.
Conclusion
Wrap up with a simple, repeatable routine that keeps your home office neat whenever you change gear.
Quick checklist: minimize and right-size cords, bundle into one trunk, secure under the surface, route one discreet run down the leg, then use wall or floor concealment only if needed.
Focus on the highest-impact moves: plan from the doorway view, shorten runs by repositioning devices, bundle into a single trunk, and place the power strip where it stays accessible but out of sight.
Make small upgrades over time—swap to shorter cords, add a tray, and label as you go. Routine maintenance matters: re-tighten ties, replace failing clips, and remove unused cords during seasonal cleanups.
Decision guide: if you see it from the door, reroute it; if it’s a trip risk, protect it; if you can’t identify it later, label it. A clean, cord-free-looking home office improves focus, eases cleaning, and protects devices from strain and accidental pulls.