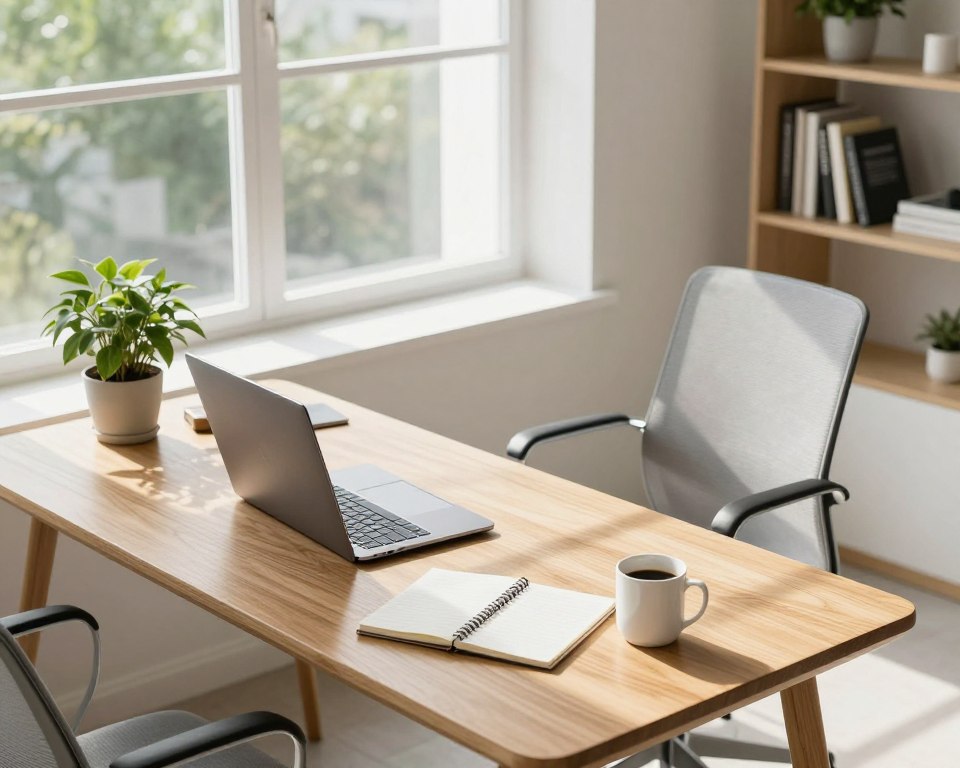
This short guide aims to set a correct viewing plan for your home or office desk. It focuses on a practical setup you can keep day after day. The goal is lasting comfort and steady productivity without quick fixes.
Start by finding a relaxed arm’s-length reach and then tweak height, angle, glare, and display settings. A good rule of thumb avoids leaning or squinting. Placing the monitor at a sensible distance helps keep a neutral posture and reduces eye strain and neck tension.
This guide uses simple at-home checks, not tools. Advice scales to laptops, dual screens, and sit-stand stations. For deeper positioning tips, see this practical resource on screen placement: best computer screen positioning.
Expect a range, not one number. Body size, screen size, and resolution change what feels right. Prioritize clarity: you should see the full screen comfortably to protect your neck, eyes, and long-term productivity in the modern workspace focused on ergonomics.
Why monitor distance matters for comfort, eye health, and productivity
Viewing setup affects both visual work and body mechanics. Where the screen sits changes how hard your eyes must focus and how you hold your head and torso.
How being too close drives digital eye strain, fatigue, and headaches
Sitting too near the display raises focusing demands. That often leads to dry or irritated eyes, blurred vision, and headaches that build over hours.
Close viewing also encourages a fixed gaze and a slight neck crane. Those habits speed up overall fatigue and make tasks feel harder.
How being too far triggers leaning, forward head posture, and neck/shoulder strain
If the screen sits too far away, people tend to lean forward or squint to read text. That shifts the head ahead of the spine and loads the neck and upper back.
Over time this forward head position increases musculoskeletal strain and raises the risk of MSD-type pain.
What “neutral posture” means for daily computer work today
Neutral posture keeps the head balanced over the spine, shoulders relaxed, and back supported with no chin jutting. When posture is neutral, the right viewing position reduces micro-breaks and boosts productivity by cutting pain-related distractions.
How to find the correct monitor distance desk position using the arm’s-length method
Begin by setting a stable seated posture so your arm reach test reflects how you actually work. Sit with your back supported, shoulders relaxed, feet flat, and knees near 90 degrees. Use a chair that lets you hold this natural position while typing.
Set posture first so the distance test is accurate
If you lean forward while testing, you will place the screen too far and reinforce poor posture. A reliable test needs the posture you use during real tasks, not a forward stretch.
Use the arm rule as a baseline for most adults
Extend one arm straight toward the screen. Your fingertips should roughly touch or reach near the display surface. Treat that as the baseline viewing distance.
Target ranges to sanity-check your setup
Anthropometric averages put adult arm length around 28–31 inches (71–79 cm).
Common comfort windows are often about 20–28 inches (50–70 cm), depending on screen size and eyesight.
Quick self-check: you should see the full screen without leaning or squinting
If you must move your torso or pull your head to read, increase text size rather than shortening the length away. This keeps posture neutral and reduces neck strain.
- Baseline: arm length (~28–31 inches / 71–79 cm).
- Comfort window: roughly 20–28 inches (50–70 cm).
- Sanity check: full screen visible without leaning.
Note: This is a starting point. Larger displays or specific vision needs may shift the ideal range, which the next section will cover.
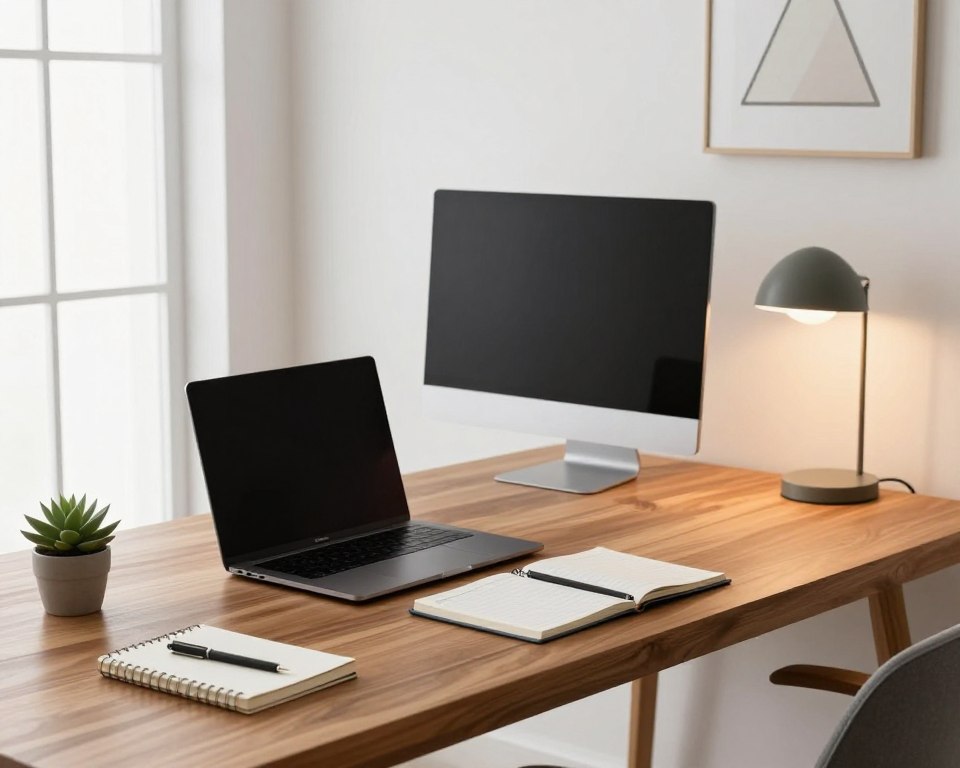
Adjust viewing distance by monitor size, resolution, and desk depth
Match your viewing range to screen size and resolution to keep long sessions comfortable. Use the basic rule of thumb but refine it for larger displays and higher pixel density.
Practical distance ranges for common sizes
A good starting window is about 20–28 inches (50–70 cm) for many popular screens. For larger monitors, move toward roughly 24–32 inches (60–80 cm).
Why bigger screens need more space
Sitting too close to a wide screen forces extra eye and head motion to scan corners. That increases neck strain over time. Give larger displays more room to cut repetitive head turns.
Use a diagonal multiplier to fine-tune
Try ~1–1.5× the screen diagonal in inches. For example, a 24-inch display ≈ 24–36 inches; a 27-inch ≈ 27–40 inches. Adjust for comfort and readability.
Desk depth and common pitfalls
Desks around 24 inches (≈60 cm) suit compact setups; about 30 inches (≈75 cm) fits many single or dual arrangements. Don’t push the screen all the way to the back on a deep surface — that often causes leaning forward.
When a monitor arm helps
A flexible arm lets you reclaim front workspace while keeping the ideal viewing plane. Use it when keyboard placement or multiple screens make spacing awkward. For more placement tips see the screen placement guide.
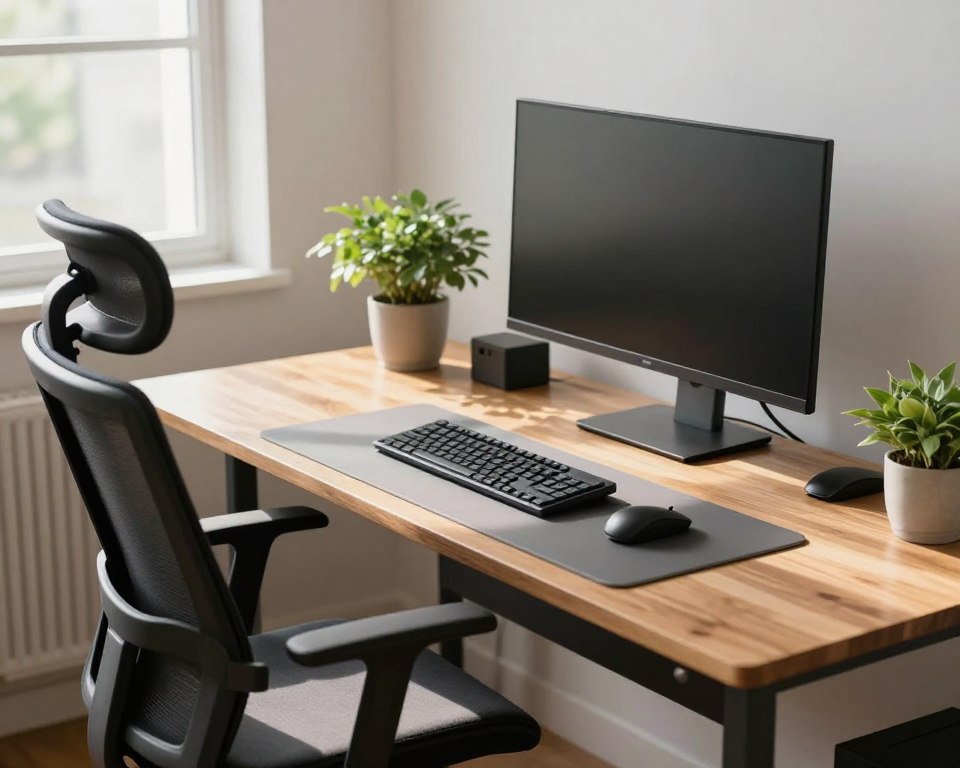
Set monitor height and viewing angle to protect your neck
Set your screen height so your neck can relax during long work sessions. Proper height and viewing angle work together with the right distance to stop neck strain. If height is off, you’ll tilt your chin up or tuck it down for hours.
Place the top of the screen at or just below eye level
When seated in neutral posture, align the top edge of the screen at or slightly below your eye level. This keeps your head balanced and reduces forward or backward tilt.
Aim your gaze from eye level to about 30 degrees downward
People naturally rest their gaze slightly downward. Target a viewing window from eye level to roughly 30° below. That range lowers neck load and keeps your eyes near the center of the screen.
Use the “address bar” check
Open a browser and note where your eyes feel relaxed. Your resting gaze should land near the address bar, not the top toolbar or the bottom taskbar. If it doesn’t, raise or lower the screen and recheck.
- Raise/lower with a stand or arm.
- Recheck after changing chair height or adding a keyboard tray.
- If your neck feels tense or you tip your chin, adjust height before changing other settings.
ideal monitor height and viewing angle advice can help you dial this in precisely, since small angle errors add up during multi-hour work.
Dial in screen tilt, glare control, and lighting for clearer viewing
Even a well-placed screen will feel wrong if reflections or harsh light interfere. Harsh lighting raises eye strain and makes people squint or lean forward, which undermines an ergonomic setup.
Reduce reflections with a slight tilt
Angle the display down slightly. A tilt of about 10–20 degrees often cuts overhead reflections while keeping text crisp.
Place screens relative to windows
Aim to set the screen roughly 90° to nearby windows so daylight comes from the side, not straight on. If that isn’t possible, use blinds or shades.
Match brightness and run a glare test
Set brightness to blend with the area behind the screen and tweak it as daylight shifts. Do a simple check: turn the screen off and look for bright reflections. If you see them, change the angle or lighting.
- Tilt 10–20° to cut overhead glare.
- Side-light from windows is best; avoid direct front or back light.
- Use blinds or an anti-glare filter if reflections persist.
“Clear viewing reduces squinting and the urge to lean forward, helping posture over long work periods.”
Make text and display settings work for your eyes
Adjusting software size and contrast keeps your posture steady and your eyes relaxed. If reading is hard, changing the display setup is safer than moving the screen closer.
Increase font size instead of moving the monitor closer
People often pull the screen forward to read small text. That habit shortens your viewing distance and raises eye strain.
Instead, enlarge fonts and use UI scaling in Windows or macOS. Use browser zoom and app settings for email and chat to keep a neutral posture.
Balance brightness and contrast to reduce long‑term strain
Match brightness to the room so the screen does not glow or fade into the background. Set contrast so letters are crisp without harsh halos.
- Adjust scaling when high resolution makes text tiny.
- Pick text about three times larger than the smallest you can read.
- Quick test: if you can read while sitting back, your settings and viewing distance work together.
“Choose larger type and balanced light to protect your eyes during long work sessions.”
Optimize ergonomics for dual monitors, laptops, and sit-stand desks
Set up multiple displays so switching views feels like a glance, not a turn. A thoughtful layout keeps your shoulders relaxed and your neck neutral during long work sessions.
Balance dual screens used equally
If both monitors get equal use, treat the seam between them as the center. Position that seam in front of you at about an arm’s length and keep both screens the same height.
Primary and secondary workflow
When one screen is primary, place it straight ahead and angle the secondary inward toward your dominant eye. This reduces repeated torso rotation and helps maintain steady posture.
Laptop ergonomics
Built-in keys and trackpads often pull you too close. Use an external keyboard and mouse so the laptop can sit at the right height and viewing distance without forcing your shoulders forward.
Sit-stand check
Save two presets for sit and stand positions. Re-verify screen height and viewing distance after each switch since standing can shift your relation to the front of the work surface.
- Quick workflow check: you can type with relaxed shoulders and glance between screens without turning your torso.
- Avoid setups where one display sits much farther back — that causes leaning or craning over time.
“Good multi-screen layout makes work simpler: the eyes move, not the body.”
Conclusion
A simple sequence—posture first, then placement, height/angle, lighting, and text—keeps long work hours easier on your body and eyes.
Use an arm’s-length baseline: roughly 20–28 inches (50–70 cm), moving toward 24–32 inches for larger screens. Place the top of the screen at or just below eye level and aim for a slight downward gaze of about 30°.
Cut glare by orienting the screen ~90° to windows and tilting it 10–20°. Increase font size or UI scaling rather than moving closer to protect your vision and neck.
Quick self-audit: check spacing, height, glare, and text size whenever you change equipment. Small tweaks over time keep the workspace comfortable and help reduce strain, fatigue, and lost productivity during long hours.